Anytime you’re feeling a bit sendy, give us a call. We’ll be there.
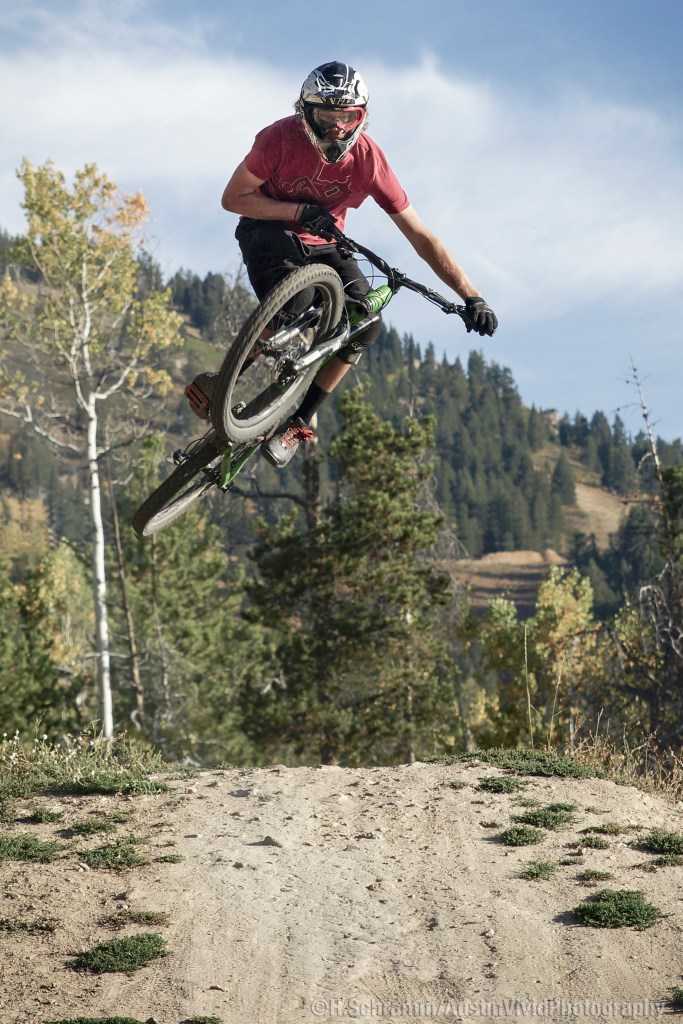
This is a bit of a throw back to about 5 years ago, capturing this amateur/pro rider smash down the mountain. Now that we have a downhill getting ready to open up here in Texas, I’m itching to get back out there and see what we can come up with behind the lens as well as behind the bars! If you’re thinking about heading out there don’t hesitate to reach out to see what we can get into.

The bike scene in Austin Texas is on fire and not just due to the high temperatures. Texas is consistently getting on the podium across the nation and I don’t think that will be changing anytime soon.

Get your head shots done like a boss. Well this guy actually is one of the boss’ but you get the point.
Get treated the way you deserve by a photographer that gets it. Contact Austin Vivid Photography today to find out how easy it is to capture your Austin lifestyle your way.

Taking sunset silhouette photos is fun and easy. If you use these few tips I think you’ll agree.
First you need a subject that is obvious in shape. This photo was taken at a session I was doing for this awesome yoga instructor and I couldn’t resist as the light was getting just right. City skylines tend to work pretty well in this scenario and I’m sure you can think of a handful of other subjects that would do too. If I was doing a family portrait session I wouldn’t go for this shot because it would then just look like a big black blob with heads poking out.
Next, the great thing about these shots is you only need to expose for your sunset. Once you nail your setting for the beautiful sunset those rich blacks just happen on your subject. With that being said, just make sure you are shooting in the direction of the sun. And your subject will be between you and the sun.
So let’s get our setting for that rich sunset. There’s a handful of ways to get this but what I find as an easy fool proof way of doing this is to knock my exposure compensation down a bit. That’s the button that usually has a “+/-” on it. I typically end up going down a full -1 or even more. For this image I lowered my aperture to f/11 which also darkened the image by letting less light in.
I will say I ended up adding a magenta filter on for this shot because I liked those hues for this client. The only difference that made was in the upper left corner where you have the nice magenta toning it was more of a light blue. It looked good that way too but I thought this fit better for her. The filter definitely wasn’t necessary.
So all and all pretty easy, right? Way easier than having to add some fill light back on our subject.
